Showing posts with label stickles. Show all posts

Monday, September 5, 2011

Get Well

Good evening everyone, I hope that those in the USA are enjoying this Labor Day weekend.  I'm so excited to have the time to get some blogging in.  I've missed everyone. 
There is a lady I've grown up with who is in the hospital fighting for her life.   I wanted to send her a card. I wanted it to be serious, not "cute".  I'm usually a "cute" card maker but I felt this situation called for "serious." I've decided when I go to make a cut I'm going to make at least 2.  I have a file that keep all extra cuts in.  This time I decided to just make 2 cards. 

This first card is a little different then the second.  I used stickles to outline the background and I used a different color ribbon around the Vase.


I used scrap paper for the black and white background.
The backgroud cut from Red was from Pop-up Neighborhood on pg 43.
I then I embossed with the cuttlebug
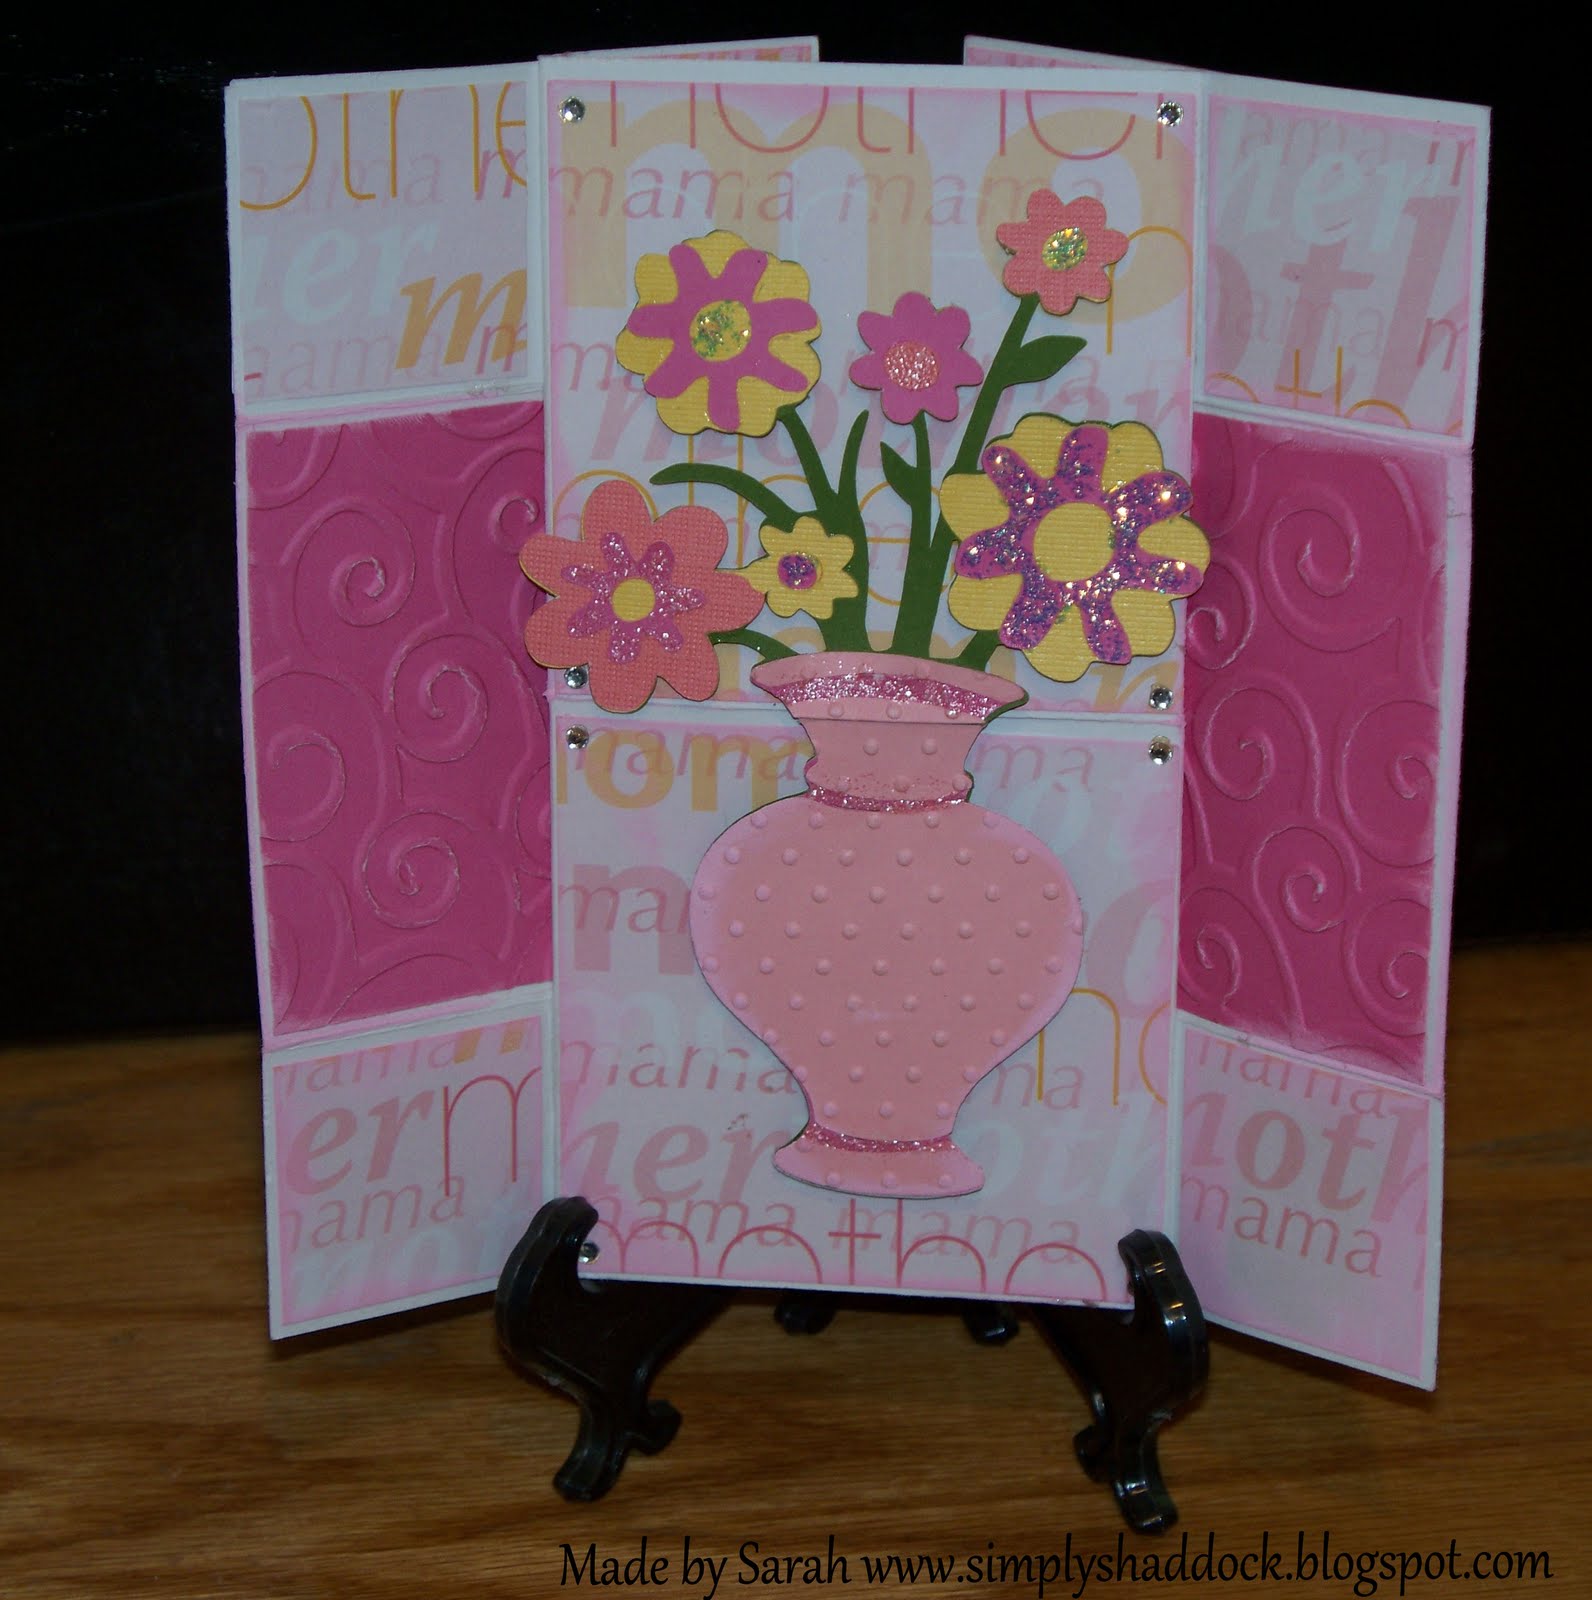
I cut the Vase and flowers from Kate's ABC's.
The flowers and Vase are touched up with Stickles.
The stamp is from Michael's brand.
The flower vase was attached using pop dots.

I hope this card is able to bring a smile to my dear friends face. I hope that she knows we are all praying for her.
Thanks you for stopping by, Please come back again soon.


Thursday, June 9, 2011

Happy Birthday Easel Care


Happy June everyone. Can you believe it's June all ready? I can't, where has this year gone? Anyhow I made this card for my Mother in Law.  It's an Easel card and the front measures at 4 1/4 x 4 1/4.  I used Happy Birthday paper from one of the DCWV paper packs.  Not sure which one because this was scrap.  The Birthday cake was cut using Simply Charmed and was cut at 3 inches. Then I added sparkle using stickles. Now the green paper on the back ground was cut at 4" using the new Pop-up Neighborhood.  I then embossed it in the cuttle bug using the Polk a dot folder.


Now once the card is opened up I have stamped Time to Celebrate on white card stock.  I then backed it with pink and used the Martha Stewart punch for the swirls.

I was pleasantly surprised at how this card turned out.  I hope that you like it and I hope that she will like it too.

Check back tomorrow for the Schools out for Summer blog Hop!!


Sunday, June 5, 2011

Getting back on track

Well it's been a while.  I'm not exactly sure why.  I have just been really off my mojo lately.  Really just not in the mood to blog.  I've been crafting, well kinda. Only what has to be done.  But this coming weekend I have a couple of blog hops and a Sketchy challenge due so I'm going to suck it (whatever it is) up and get back on track. 
So I have a lot of back tracking to do.   I still haven't posted my last Mother's Day card.  This is the card I made for my mom.  I had shown her a couple of months ago this never ending card I had learned how to make.  It wasn't decorated or anything but she thought that is was really cool and had said I'd love to see one all decorated up.  Well I've made a few since then but they go out just as quick as I make them (usually anyways) and she doesn't do the blogger thing so I don't think she has seen my blog.  So I decided to make her Mother's Day card, never ending.


The front of the card was made with paper from the DCWV spring pack.  The pink paper I embossed using the swirl cuttle bug folder, the flowers are Martha Stewart and the "Happy Mother's Day" is cut from Wild Card. I then added a few jewels with my i-rock.


Once the card is opened I used the same paper as the front of the card.  The flower vase and flowers were cut from Kate's ABC's.  I embossed the vase with the Polk a dot cuttle bug folder and inked the edges with a light pink.  Then where the fold was in the middle I just cut the vase. Then added some stickles to the flowers to make them sparkle.


The third layer of the card, I'll be honest, I was at a loss as to what to do.  This is about when my creativity began it's strike.  This silhouette is from A Child's Year and embossed with the Polk a dot folder from the cuttle bug.


The back of the card I didn't do anything to.  It was a Mother's Day card and the paper I think said it all.


Thank you for looking.  I've missed all my blogging friends.  I hope to see you back again soon!


Thursday, March 24, 2011

Have a Tweet Easter

I gave my mom a cricut for Christmas this year because she was still cutting things by hand. She'd seen the Cricut and the things that I had made but she just couldn't justify it.  So well I helped things along.  Little did I know it would bennifit me in the end..lol.  She only lives 5 houses down from me and I was over at her place the other night and well I couldn't believe it she had like 5 or 6 cartridges that I didn't have.  So of course I had to put them to use immediatly.  I made this card using  Simply Charmed. Love this cute little chick.  The Easter sentiment was one of those $1 bin ones from the craft store.  I've had this ribbon  in my stash for as long as I can remmeber and don't think I've used it once. I used the Cuttlebug for the polka dot texture. Then added some stickles to the egg shell to give it some sparkle, can never have too much sparkle. Thanks for stopping by hope to see you back again soon!!
                                

Thursday, March 17, 2011

Side Step Style Happy Birthday Card

Hello all my bloggie friends. I'm in a particularly good mood today. No reason really, just in a good mood.  I made this card a couple of days ago for a friend of mine with a birthday.  It's a side step card but it's different in the fact that the back of the card goes all the way up.  I think I might make a video showing how to make this style card but haven't gotten to it yet, but keep an eye out if your interested. 
On this card I used the Sweet Treats Cartridge for all the cuts.  I added pink stickles to the cake and clear stickles to the gift bows.  If I could change something about this card it would be the "happy birthday" sentiment.  Not excited how that turned out but was happy with the rest.


Well thanks for looking and stay tuned for more information about how to do this great card!


Thursday, March 3, 2011

Turtle ♥ Love

My 17 yr old little brother came over last night and asked me to make a card for his girlfriend because today is there 1 yr anniversary.  He wanted something different not a ordinary card. So I went with the Tri-fold because I only had a couple hours to make this card and Tri fold is easy peasy.  He said that she loves Turtles and she loves green and he wanted it to be somewhat romantic.  Ok that was a challenge. But this is what we came up with. I hope that she likes it.

The Turtles were cut from Create a Critter then added green stickles.  The heart and "Love" is from the sweat hearts Cartridge.  I did there names on the Gypsy using Quarter Note font and covered in Onyx glitter from Martha Stewart. Did a little doodling with my black Zig pen. Then for the final touch I added several jewels using the I-rock.


                                                  Thanks for looking, Hope to see you again soon!!


Thursday, October 21, 2010

It's a girl card


I don't know what style of card this is maybe the gate card....I don't know anyhow I used the Nursery Tails Cart with the imagine. Did the pop dots on the little lamb and the little bird/branch. I then added stickles to all of the card to make it shine. I love my Imagine!!

Tuesday, October 19, 2010

Good Times


I used my Imagine with the Nursery Tails Cartridge for this LO. I downloaded the new update from Provocraft for the Imagine and it now allows for full sheet printing and this is what you get. I thought it turned out really nice. It's hard to see but I layered the butterflies and dragon flies and added some stickles to the flowers. The pink paper is also printed with the I. The good times was from the Wall Decor and more Cart filled green in the Imagine, printed and cut.
Related Posts Plugin for WordPress, Blogger...