Friday, May 16, 2014


Hi and 
HAPPY FRIDAY!!!

I'm super excited for this weekend.  My Husband coaches our son's baseball Travel team and it's tournament time.  I love watching them in action.

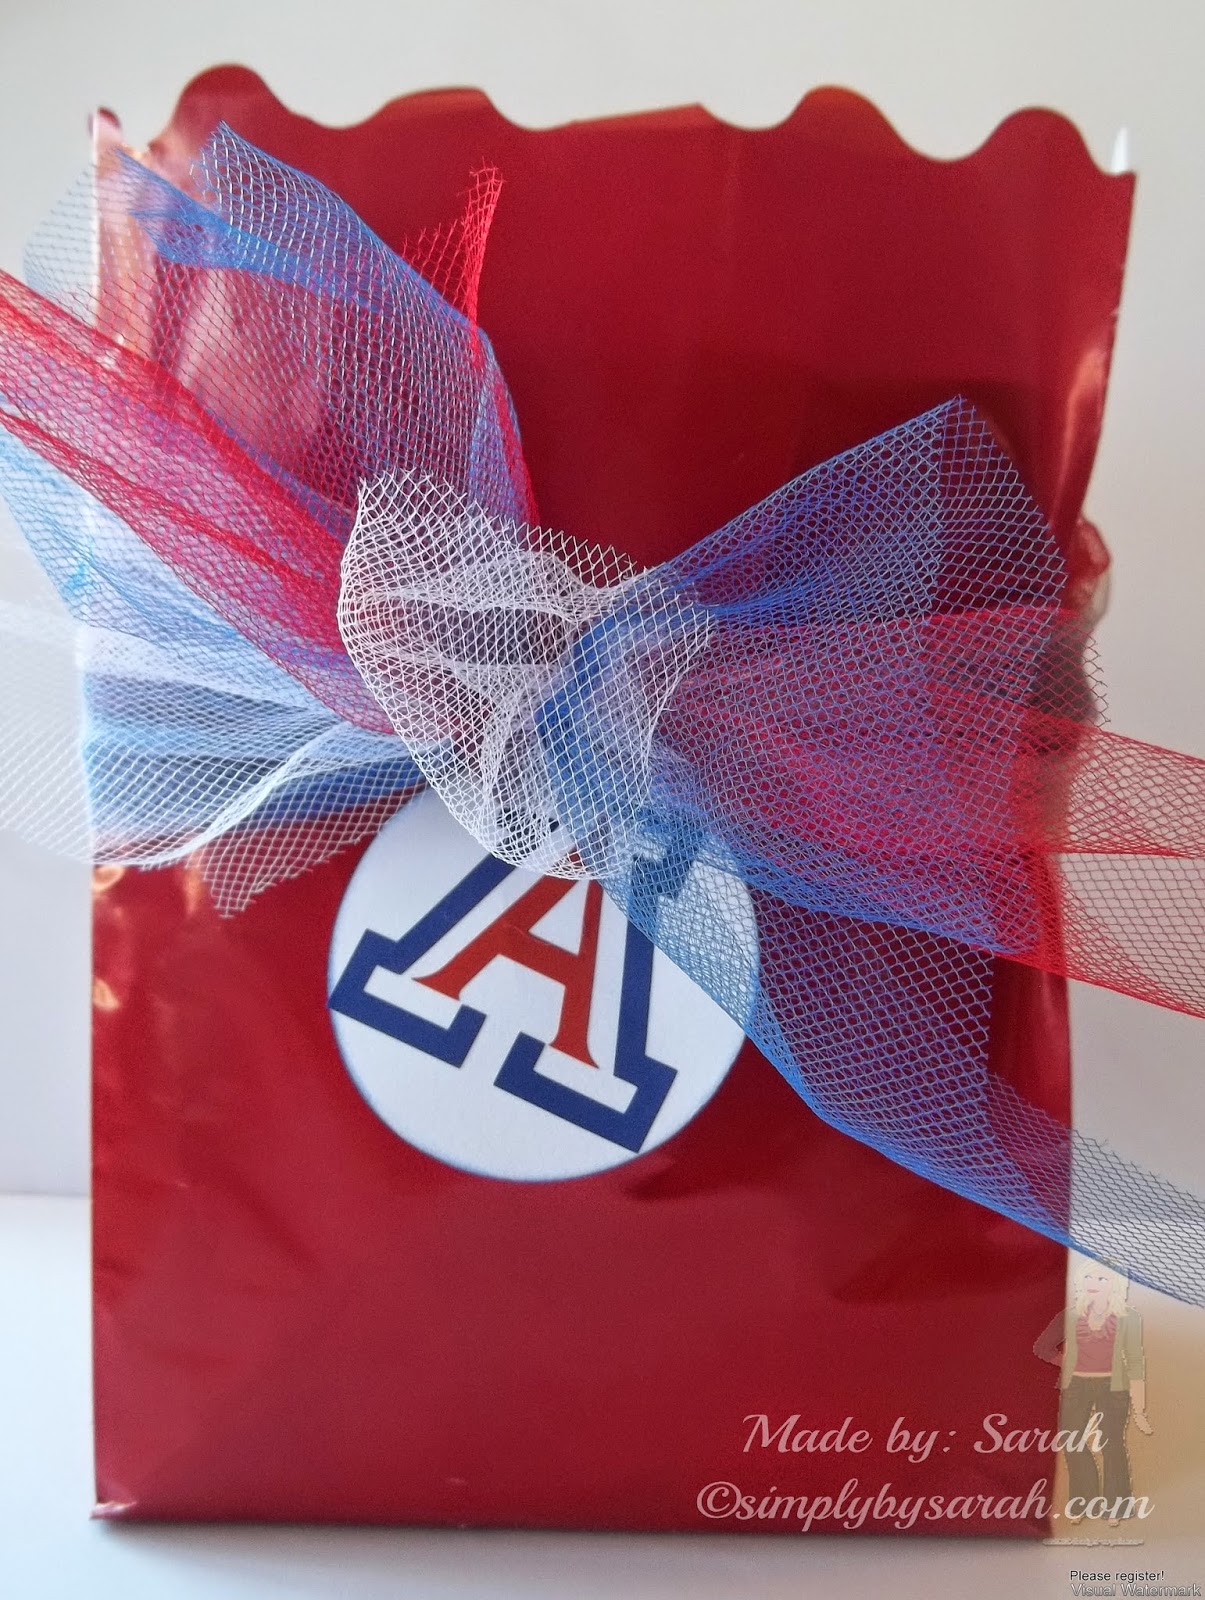
It's also Graduation season and this year my mom is graduating from UofA.  I'm so proud of her for going back to school.

I got the honor of decorating her grad cap and since I've been dipping into rhinestone designs lately I decided to make hers sparkle. She said I could do whatever I wanted to it.


It's not perfect and this photo is really bad but it does sparkle.  I was able to put it right in my heat press and it did great!

So this morning (graduation morning) I get a text from my mom asking me if it would be too late to do another cap.  I love  making people smile and I love what I do so I took on a last minute cap.  She decided what she wanted and I just did it.

I think it turned out great.  


Well thanks for taking a look at my cap projects.
Congratulations to all the 2014 graduates whether it be high school or college, job well done!


Thursday, May 15, 2014


Hello!  Today I wanted to show you 
what I did with my Silhouette Cameo!
I'm so loving it. 

These are jewelry hangers.  I created them in Silhouette Design Studio.  I used the print feature and printed the logo and info on them and then used the cut feature and cut them out.

I have a friend who just opened a store called the Branded Cowgirl.  She has some amazing things you might wanna check her out! www.thebrandedcowgirl.com 


Well thanks for taking a look, come back again soon!


Wednesday, May 14, 2014


Hello Everyone!

Today I wanted to show you a tile I did for a friend.  These are 6x6 ceramic tiles that you can purchase at your local hardware store.

I created the word file myself in Silhouette Studio (Designer's Edition).

I cut out the vinyl and transferred it to the tile.

I think that they turned out really nice.  She was giving them as gifts.


Well thanks for stopping by to take a look, come back again soon.


Tuesday, May 13, 2014

Green Bay Packers Bottle Light


Hi I'm back with another Bottle light.  This one is, well, the Green Bay packers!
This started as a plain green wine bottle.

I used the Frosted spray paint to give it a soft look.
Drilled a hole in the back and strung in some Christmas lights.
Then added some vinyl and a bow.


Well thanks for stopping by and taking a look, come back again soon.


Monday, May 12, 2014


Hello and Happy Monday! (If there is such a thing, LOL)  
I have been super busy crafting, daily for months.  I have so many things to show you.
I don't hardly know where to start.  A lot of things are Christmas, so sorry I'm a little behind.
 The first thing today are these Christmas Ornaments.

They start out as clear glass ornaments.


Then I coat the inside of the ornament with a wax floor care.
Make sure you pour out all excess floor wax.


Then I pour in the Glitter.
You want to just rolled around the ornament until the whole thing is coated with glitter. Then you can pour out the excess glitter to use at a later date.

Now your ornament is ready to decorate.
This is the sentiment that is mostly use.  I use my Cameo to cut out with vinyl. Then I tie a little toole around the top.

This ornament was made for a gal who just lost her dad.


These ornaments look pretty in any color glitter and are so much fun to make.
Thanks for stopping by and taking a look, please come back again soon!!  


Sunday, May 11, 2014

Happy Mother's Day!!!


Happy Mother's Day!!

I hope that you are all spending time with your mom's and or your loved ones. I made this card today for my Mother-in-law and for my mom.  I can't wait for them to open them.

I have been seeing these card boxes all over the place and have been wanting to try and make one.  What better time then Mother's Day?

I got this file from the Silhouette Studio store.

Instead of using the paper flower cut outs that came in the file, 
I chose to use fabric flowers.


 The "Happy Mother's Day" is cut out using vinyl.  
The edges are all inked in a darker purple


So when I was first introduced to this card I had always wondered how it could be a card.  Cards fold up and I just didn't see a "Box" card folding up.  So I included a couple of photo's of the card folded up.


So that is my first box card attempt and I really love how it turned out.  I can't wait to make more!

Thanks for stopping by and taking a look, I hope you will come back again soon!!


Saturday, May 10, 2014

Play Ball Bottle light


Hello and Happy Saturday!
So I've been making these wine bottle lights but, since I don't drink, I asked a friend who waitresses at PF Changs to pick me up some bottles and this was on of the ones she brought me.
My son loved it. So I made it for him.

He is 12 years old and a HUGE Baseball player/fan.  


I spray the bottle with this Frosted glass spray 
to give the bottle a "frosted" look.  It softens up the light.

I drilled a small hole in the bottom back of the bottle 
and strung a 20 light sting of white lights in.  

Used some vinyl to decorate and a ribbon to top if off.


Well thanks for stopping by to take a look, come back again soon!!


Friday, May 9, 2014


Hi and Happy Friday!  
So I am the oldest of 8 kids and my youngest sibling is only16.  
My mom decided after all this time she was going to go back to school, 
and she did!  
She is graduating in a couple of weeks from UofA.  
I made her her announcements to hand out to friends and family.


I made 3 different colors, one of each of the school colors.
The "A" is cut from vinyl.  I used my Cameo to create the image.

The front of each invite is embossed with I believe the Herringbone embossing folder.
I then added coordinating ribbon and a few little silver studs.


For the inside I just printed it off from my computer and attached it to the inside.


I always try to include something cute to hold the invitations.  
I just did this up super quick.  I took a red paper sack, cut it down to size with wavy scissors.  
Then added red,white and blue toole and a UofA logo tag.  


Thanks for stopping by to take a look. Hope you'll come back again soon!!


Related Posts Plugin for WordPress, Blogger...